Now, if you follow me on
Instagram, you may know that I've been hard at work working on our bedroom. Well, I'm stopping in today to share some progress and to give my two cents on the ever popular
Annie Sloan Chalk Paint!
So, here's our makeover candidate
This dresser is my husbands contribution to our house of furniture; it's what he kept his clothes in during his bachelor days. Once we moved in together (17 months ago), it lived in our son's room and held all of his clothes. And, now, after some whole-house furniture rearranging, it lives in our bedroom and holds both of our clothes.
Despite it's shiny laminate look, it's constructed of solid wood. I have no idea what the shininess is; I just knew that I didn't want to take the time to sand it down with all of those little nooks and crannies it has.
So, it was
Annie Sloan's Chalk Paint to the rescue! The main claim of chalk paint is that you don't have to do any prep work to your piece before you start painting. I knew this dresser would be the perfect candidate to test this claim.
I took out all of the drawers and removed the hardware.
On went the first coat. A small amount of the paint really went a long way and it goes on very quickly. I got the first coat on both the dresser and each of the drawer fronts in about 40 minutes. And, amazingly, it dries in 20 minutes!
So, on went the 2nd coat, and after waiting about an hour, I rubbed wax on to the top of the dresser and on the drawer fronts. I waxed these areas only, because it's the waxing part that's the hardest. Getting the wax on and even is quite the task. You are instructed to wash your wax brush about 24 hours before you wax (otherwise, you'll have billions of little hairs in your finished product), but I'm the most impatient person in the world when it comes to a project. So, I used an old sock. Sorry I don't have any pictures of this step. You may not care anyway, so let's jump straight to the afters, shall we?!
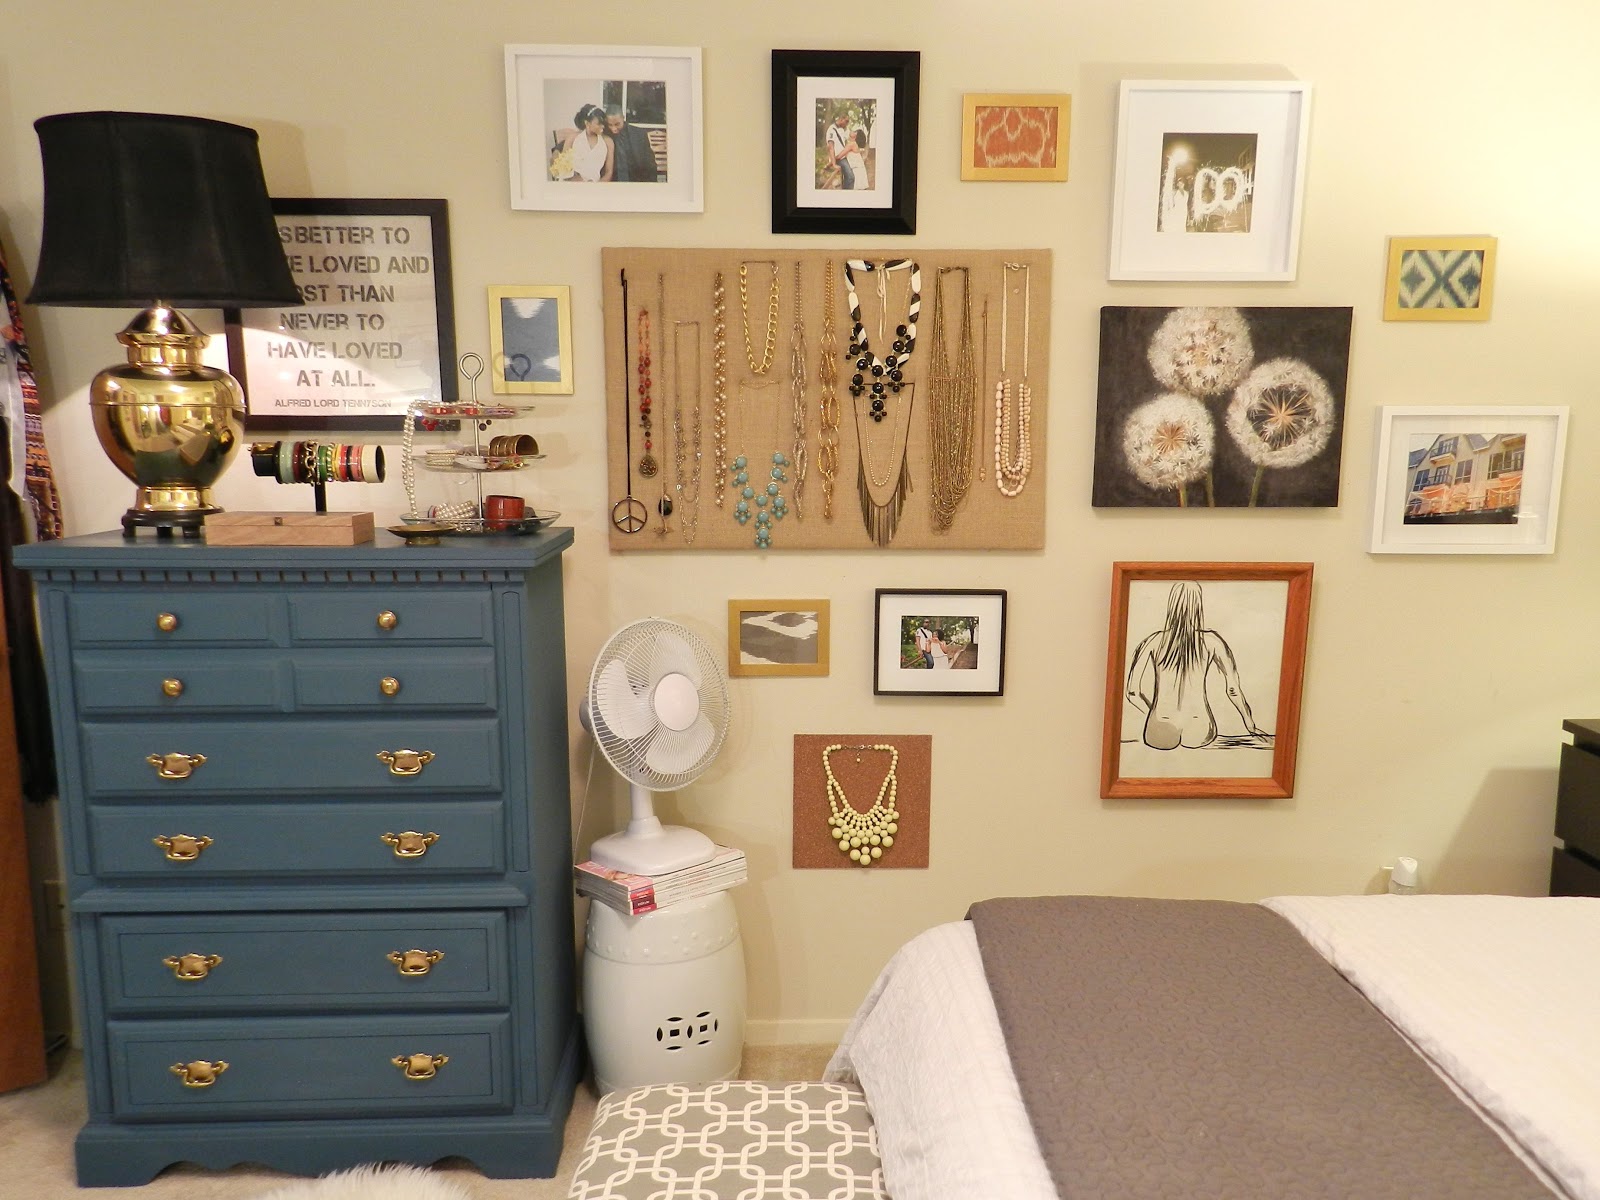
Not bad, right!?! I love the color (Aubusson Blue) with the brass hardware. I may change out the hardware down the road, but for now, I really like it.
Now, without the wax, the finish of the paint feels really chalky (hence the name). But once waxed, the finish is hard, but so velvety soft to the touch. Does that make any since? I wish all of you could come by and rub your hand against it. I promise, I've never felt anything like it. And as far and the sides of the dresser go, I'll get around to waxing those one day. They're in no danger as long as this dresser lives in our bedroom, so I'm in no hurry.
All in all, I'm now a fan! I've heard mixed reviews, but it just so happened to be the best product for what I was doing. It is quite expensive (almost $40 a quart [just for the paint...don't get me started on the wax and brushes]), but I was willing to pay a bit more to get me out of sanding. You win some; you lose some.
So that's it...a chalk paint review, a dresser makeover, and a sneak peak into our master bedroom redo. Have any of you tried
Annie Sloan's chalk paint? Did you like it? Did
her tutorials on YouTube help you at all? Let me in on your thoughts!
Xoxo,
Coco