Having a bit of a rough start to my November. I'm currently nursing a fever and soar throat and have a million things to do to prep for my final (4th) baby shower of the year. Maybe a few DIY blog posts will come out of it though. Praying November is being good to you guys.
 

Master Bedroom Update: Gallery Wall Changes

HAPPY HALLOWEEN peeps!!!
Thanks for all the sweet comments/likes on my bed making tips yesterday! I'm back in the master today to show you guys all the updates to the gallery wall.
If you don't recall what it used to look like, here's a little reminder.

Well, now it looks like this.


I edited out a few pieces, reframed my naked lady into a frame that actually fit her, added a few new pieces and rehung everything in somewhat new positions. I think it looks so much better now.


I added a mirror above our chest of drawers. It may be overkill with our full-length mirror just in the opposite corner, but it was just collecting dust in the corner behind said full-length mirror, so I have it a couple coats of gold spray paint and reunited it with the family it never had.


I couldn't redo the gallery wall and not spruce up the top of the chest. The cupcake stand is working well at holding my baubles and bracelets but its haphazardness wasn't good for my chi. I moved it to rest on the ceramic stool so that it was still within reach and fully accessible, but I wasn't staring at it while trying to decide on my accessories for the day. Out of site = improvement of my chi.

The humongous brass lamp was moved to the living room, where its scale is much more fitting, and was replaced by one of the lamps below.


The size and scale was so much better, but the navy blue didn't quite create the look that I was going for. I gave it a few coats of Rustoleum's Universal spray paint in satin white and replaced the shade with this black linen one from the Threshold line at Target. You may remember seeing it here.


Everything is still there and functioning so much better in this arrangement. All of my favorite pieces are out in the open instead of inside my wood and snakeskin Nate Berkus box. I still keep my precious pieces in there, but they are out of the way of my everyday pieces.


The tray that my watches are on used to say Happy Holidays, but it was nothing some gold spray paint couldn't fix. The little brass dish is holding a couple pairs of my favorite earrings (even though I wear the same pair everyday), but it's main use is holding my wedding rings when I take them off.


And of course, styling is never done without flowers and a candle.


I'm so happy with the progress in here. I can, almost, call things done. I've got a few more tweaks to tackle and then we'll be ready for the final reveal.

So are you guys gearing up for the trick-o-treaters? It's raining in our parts and isn't looking of letting up, so we may be tricked into treating indoors this year. Boo.

How to: Make a Bed like a Pro

As you all know, I've been working on a few tweaks to fallinize our master. I've showed you our updated upholstered headboard, a little hardware update to our Malm dressers, and my super easy, 
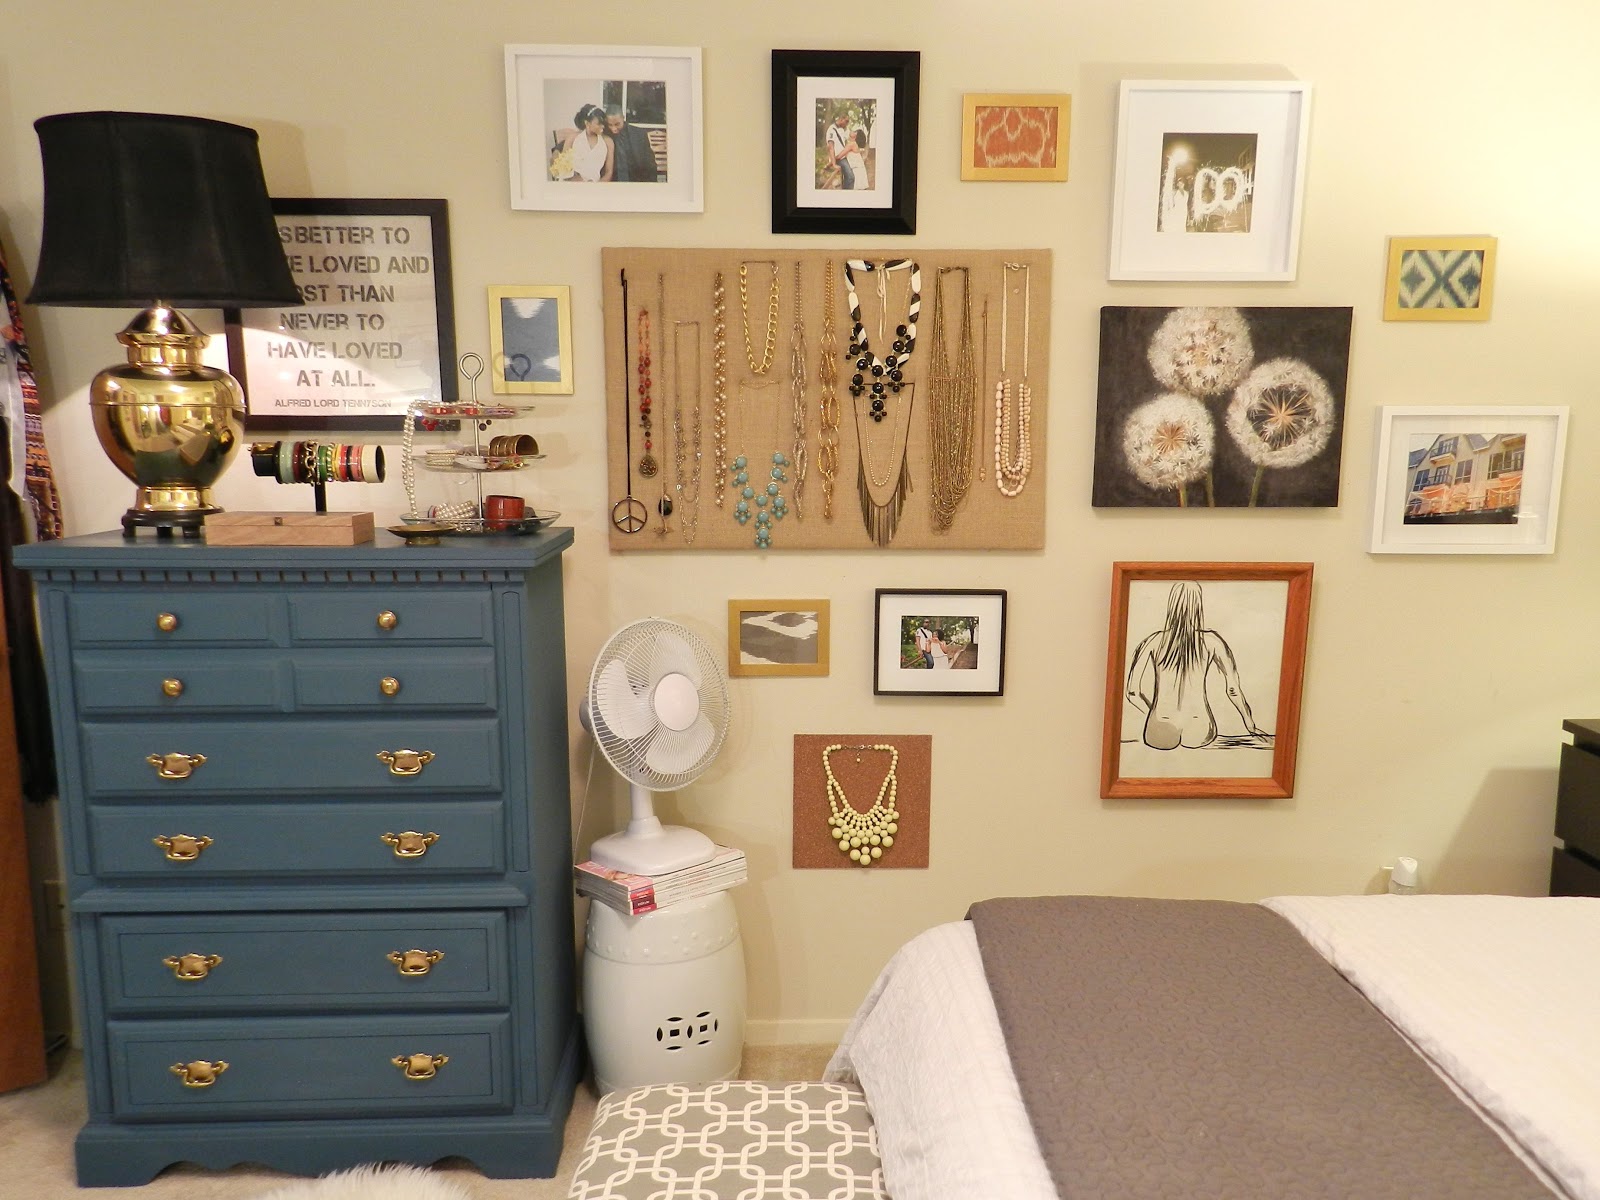
faux roman and drapes. Well, now, I'm changing up our gallery wall and organizing my jewels and baubles, but I wanted to drop in and share a little knowledge that you can stow away for a rainy Saturday or something. I want to show you...how to make a bed like a pro!


I promise you...a well made bed can change your life!

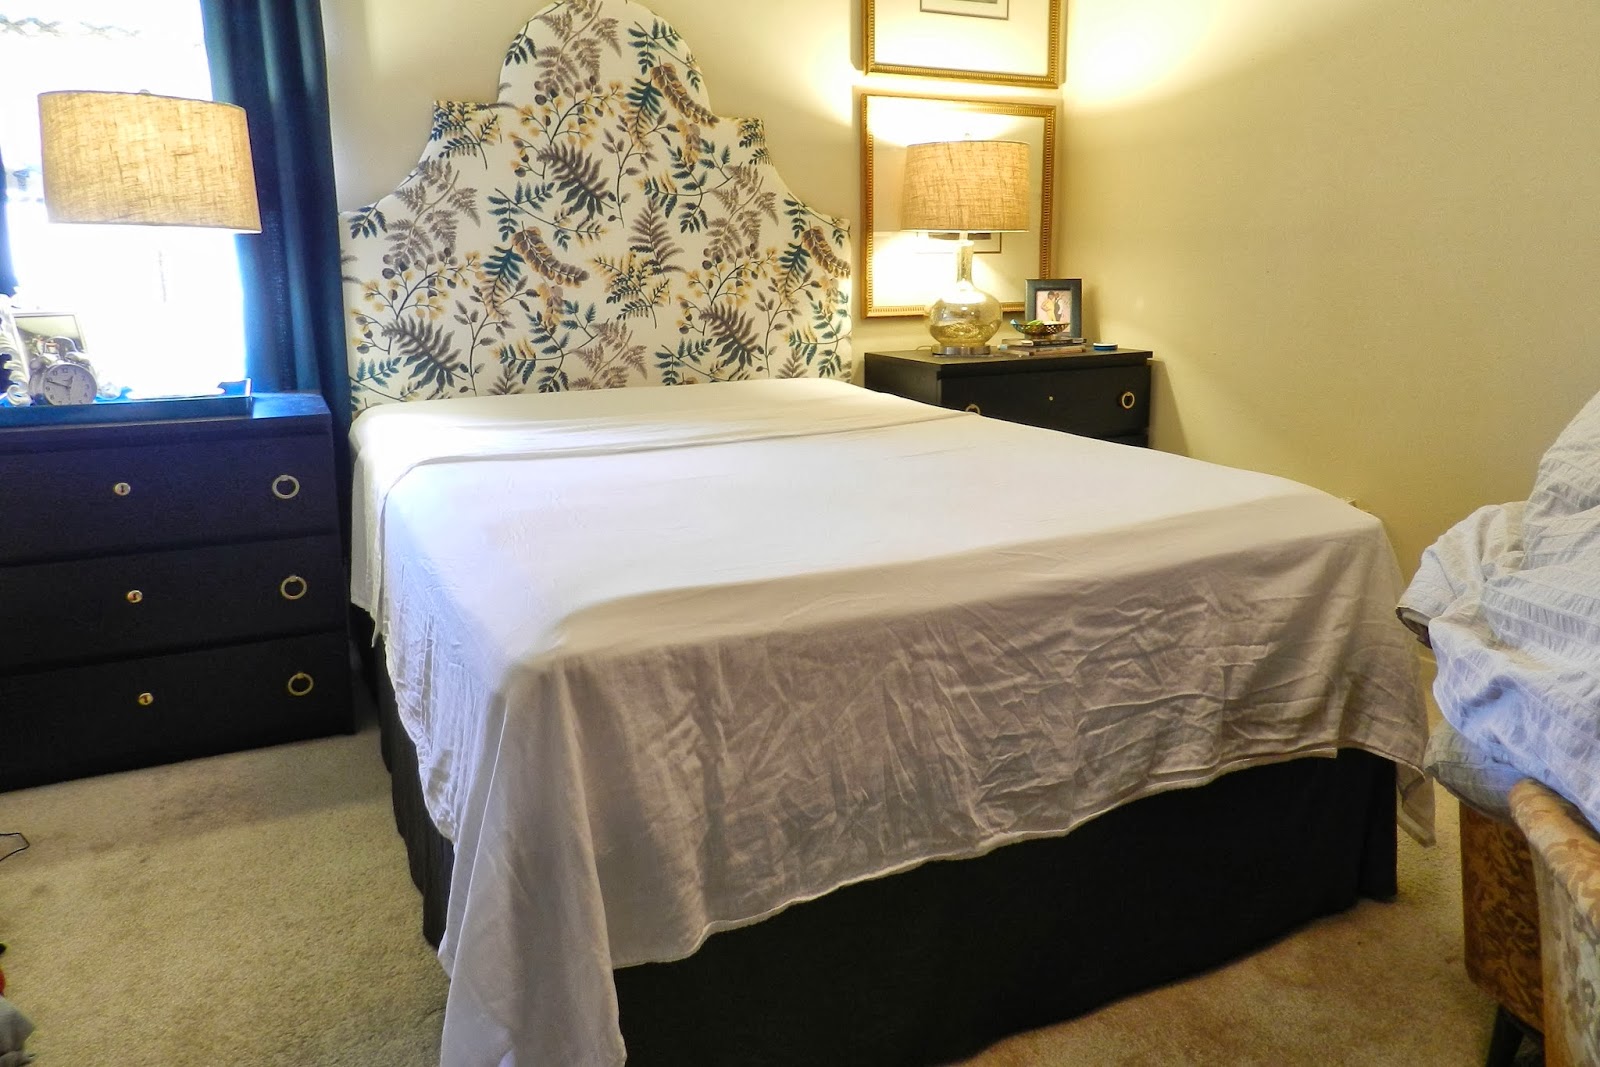
You'll want to start with a good base. We're well overdue for a new mattress, but this one is holding up well. I covered it with a memory foam topper and the hubs and I sleep like babies. I change our sheets every week, and before I put the new ones on, I like to spray the topper down with a little Febreeze. I just like the way it smells. But on to the bed making, right!?!

Fitted Sheet - Put it on the mattress and be sure that all loose or baggy areas are tucked under.


Flat Sheet - Spread the flat sheet out right side down. This way, when you fold it down, the right side of the sheet is what you see. (a tip I learned from my mom <3)


Begin tucking the flat sheet under the mattress, starting at the foot of the bed.


Tuck under your corners and the sides.


Coverlet/Blanket - Fold it in half and spread it over the lower half the bed.


Fold the top of the coverlet back towards the head of the bed.


Tuck the bottom of the coverlet under the mattress


Duvet/Comforter - Spread the duvet over the bed.


Fold the duvet down to the foot of the bed.


Fold it over once more toward the foot of the mattress.


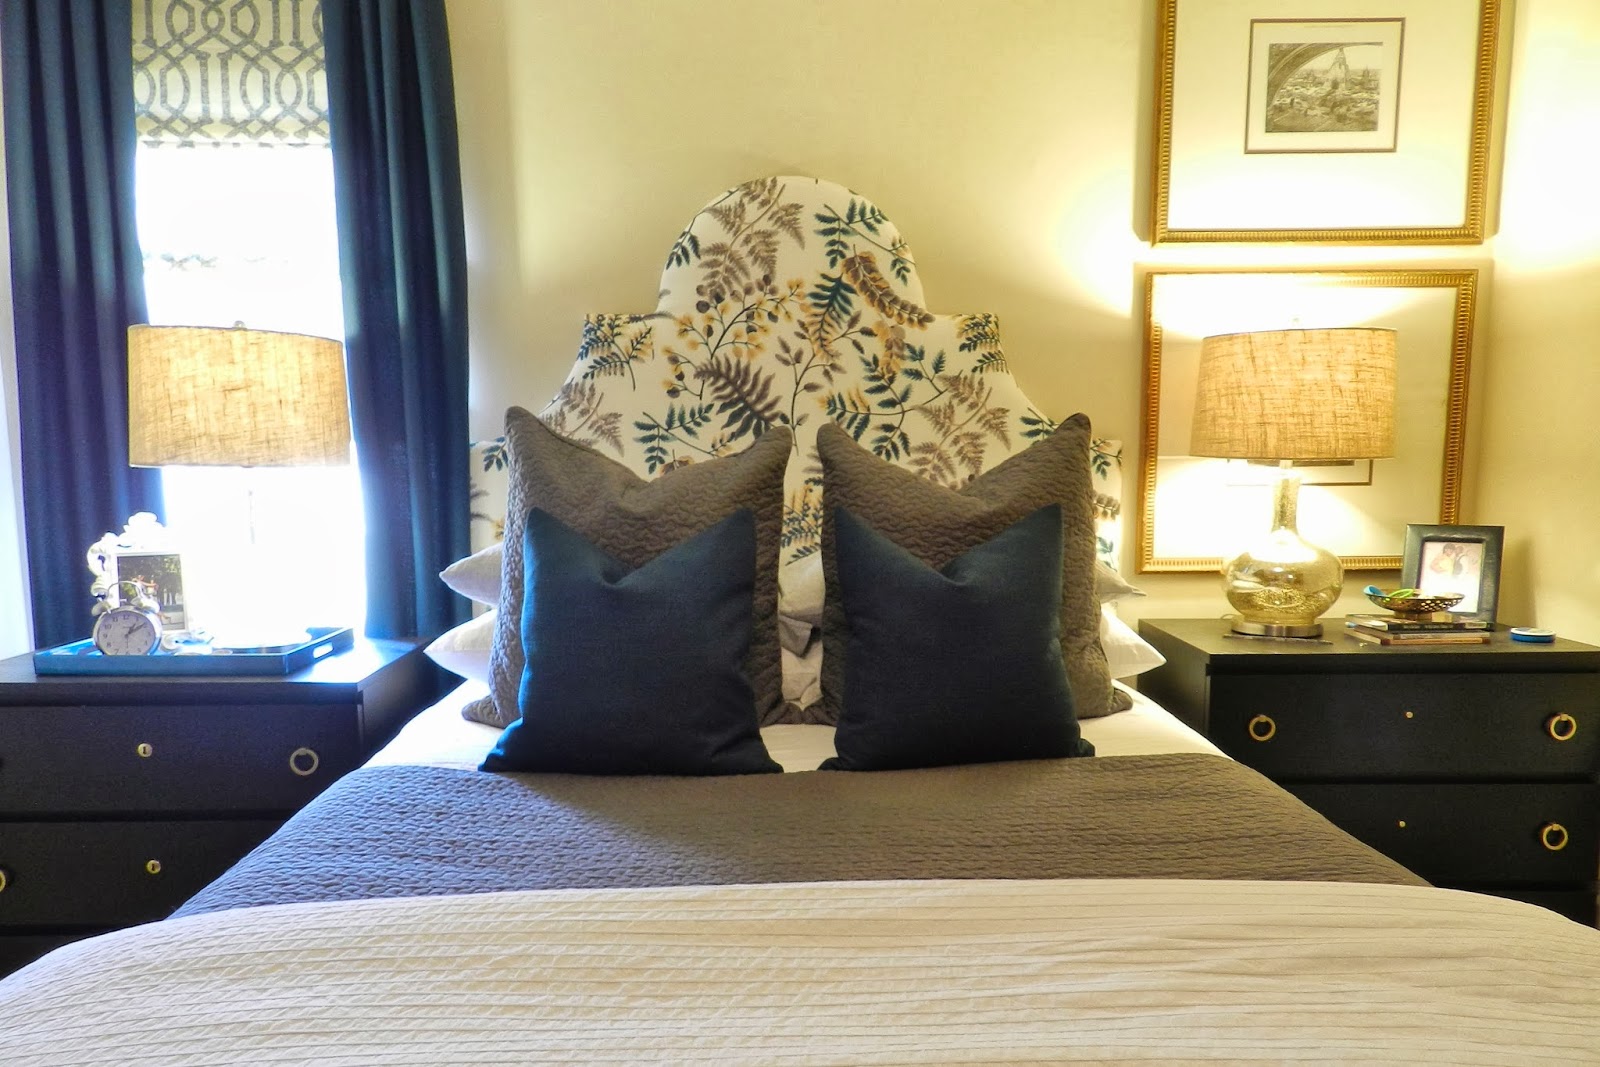
Sleeping pillows - Place them down flat at the head of the bed. I like to place mine with the open ends facing each other.


Decorative Sham Pillows - Place them on top of your sleeping pillows...open ends touching.


Euro Pillows - If you don't own a set of euros, go out and get some now! Not only are they awesome as another layer for a well made bed, but they're perfect for leaning if your a bed reader. I placed mine in front of the stacked pillows and gave them a good karate chop in their centers.


Decorative Toss Pillows - Some people like to go a little overboard with their decorative pillow numbers. I like to keep it around 2-3. Place them in front of the euro pillows.


Lastly, add a little flair!

(Want to know a secret...that's actually my leopard skirt pinned around a pillow form. I'll get a real leopard pillow one day.)


So, that's it! Now, you're ready to make up you're own palace of dreams!


If you decide to give this a go, or you think you need a little more help, I'd love to take a peak! You can either email me your photos to cohesiverandomness@gmail.com or upload your photo to Instagram and tag me @nubiinteriors. Just remember that I may not get to see it if your profile is private.

I'm so excited!!! Can't wait to see what you guys come up with. 

Personal Style File: Casual Boyfriends

Where have boyfriend jeans been all my life?!?!? They're super comfy, while lacking nothing when it comes to style. So much better than having comfort OR style (name that commercial).
 
I'm wearing a pair from ASOS (on sale!) with a hot pink sweater tank (on clearance) at JCP and my favorite leopard skimmers.


Moto Jacket: Forever 21 (old) similar here
Sweater Tank: JCP
Boyfriend jeans: ASOS
Leopard Flats: Madewell
Boyfriend Watch: Fossil
Tassel Bracelet: Wrist Soiree
Amelia Bracelet: Wrist Soiree
 
I want to wear this outfit everyday. Would you judge me if I did? I'd probably just stop taking Instagram selfies if I did.

Get This Room: Chic le Fem for $1500

So, I've decided to start a new series. I'm going to pick a room, and then show you how to get it on a budget. Sounds fun, right?
I wanted to start with one of my favorite rooms.

I just love everything about it! It's eclectic glam with a side of comfy sophisticate. A little Parisian and super girlie. I call it Chic le Fem!


Would you believe me if I told you that this room is less than $1500?!?!? YES!!! Everything you see above comes to a total of $1,399.87!

And those amazing Mongolian fur stools that are in the inspiration photo are an easy DIY with just a little bit of time and effort.


The cost to make two of these babies...less than $135!!! 


Here's how it all breaks down:

Nate Berkus Side Tables (2): $79.99 x 2 = $159.98
DIY Faux Fur Stools: $135

GRAND TOTAL: $1,534.87

Somebody cut me a check!!! I want it all NOW!!!

So, do you like this idea for a series? Would it help you spruce up your spaces? I'd like to know what you think, so share and share alike!