I promised my lovely friend and awesome blogger,
Shavonda, a how-to on the Parsons style desk, so I'm sorry if this bores you, but this one's for my girl!
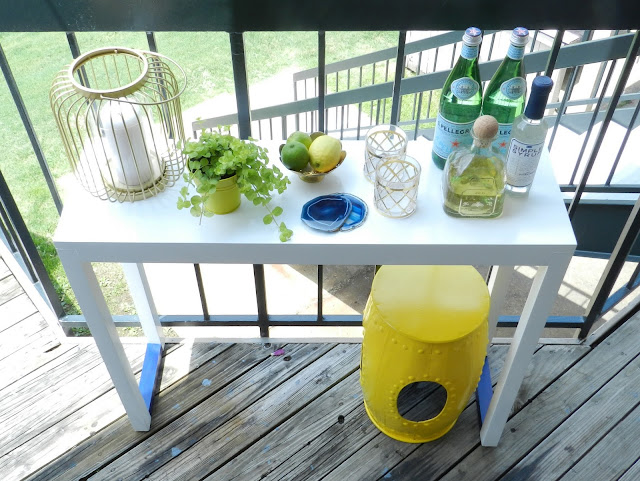
I, recently, built this desk for a client in Brooklyn, NY, (I can't wait til she gets it so I can tell you all who she is) and the method I used is, actually, the exact same method I used to make the console table/bar for our balcony and was the basis for my infamous coffee table.
Disclaimer: the following photos were taken with my phone and are not the best quality, but they help with the points I'll be making. Hopefully,
Shavonda won't mind.
First, start by determining the size top that you'd like to have. My client requested one that was 37" wide and 11" deep. This ended up being perfect when it came to gathering materials. Home Depot has a section that holds all of their "by the foot" lumber. I had them cut a
1" x 12" poplar board to exactly 37" long (knowing the width would actually be more like 11", rather than the 12" that they label it as). I also picked up 3 of their 1.5" x 1.5" x 8' pine boards and had them cut them in half, so I could get them in my car. These would be for the frame of the desk and the legs. Measurements for the frame and legs were:
2 lengths @ 34" long (front & back)
2 lengths @ 8" long (left & right sides)
4 legs @ 30" long
Tip: if you place your legs at each corner of your top, and measure the distance in between each, you have the lengths that you'll need to cut for your frame. If you look closely, you can see where I drew an outline of each leg, just to make sure my measurements were as accurate as possible.

Side note: Now, this desk is Parsons inspired, since the legs aren't quite as thick as the top, but you
can achieve a true Parsons look just by going with a "chunkier" leg; something like this 4" x 4")
Now, run a good amount of glue on one edge of your top, and glue down your frame pieces. Continue this on all four sides.
Once done, you should have something that looks like this.
Let these set just for a few minutes, until you can no longer push them around as you would on wet, runny glue.
This is where I would HIGHLY recommend getting a Kreg Jig. I have
this particular set. This thing will have all of your furniture building projects looking clean and professional by eliminating all of the spackling and filling that has to be done over visible nail and screw holes. The jig helps to create pocket holes that can't be seen on the outside of your work. It's worth it's weight in gold, I tell you!
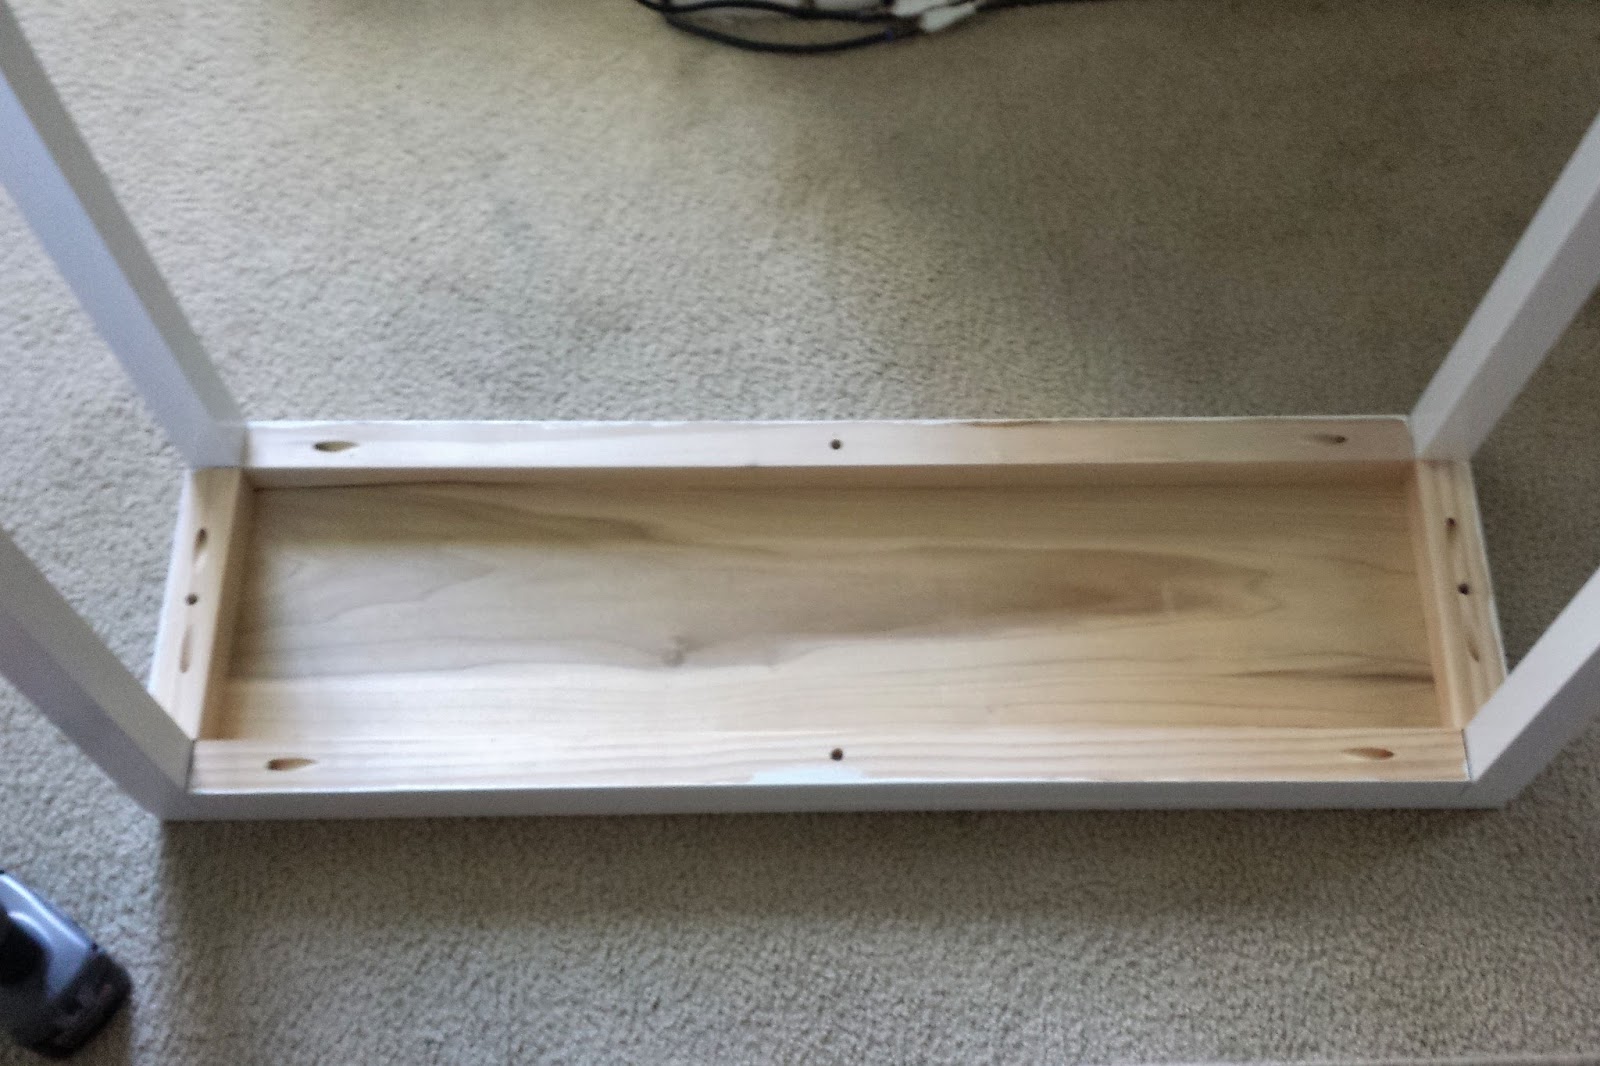
Using the Kreg drill bit, drill 1-3 pilot holes down into each of the frame pieces to countersink your screws, then just drill in your screws, securing the frame pieces to your top.
Now, use your Kreg Jig to drill pocket holes into the ends of each frame piece.
You should have something similar to this.
Now is a good time to paint/stain/finish your desk any way you'd like. Trust me. It's much easier this way.
Now, place each leg into it's proper corner and secure it on both sides with 2.5" Kreg screws.
Once done, you'll have something like this.
Flip it over, and you have a brand new desk/console table!
Special Note: The finishing process is much easier to accomplish while the desk/console is still unassembled. However, for my coffee table, where I like for things to be a lot more seamless, I fully assemble the parts and then fill in every crack, nook and cranny with wood filler and then sand it until smooth. This way, you see no separation between the top and the frame or the legs and the frame. This, also, makes for a sturdier piece.
As you can see, it's really fairly simple if you have the proper tools.
If you have any questions,
Shavonda, you know where to find me! And if you're not Shavonda, you can ask me questions, too. May
you will get you're own special tutorial!
Xoxo,
Coco


